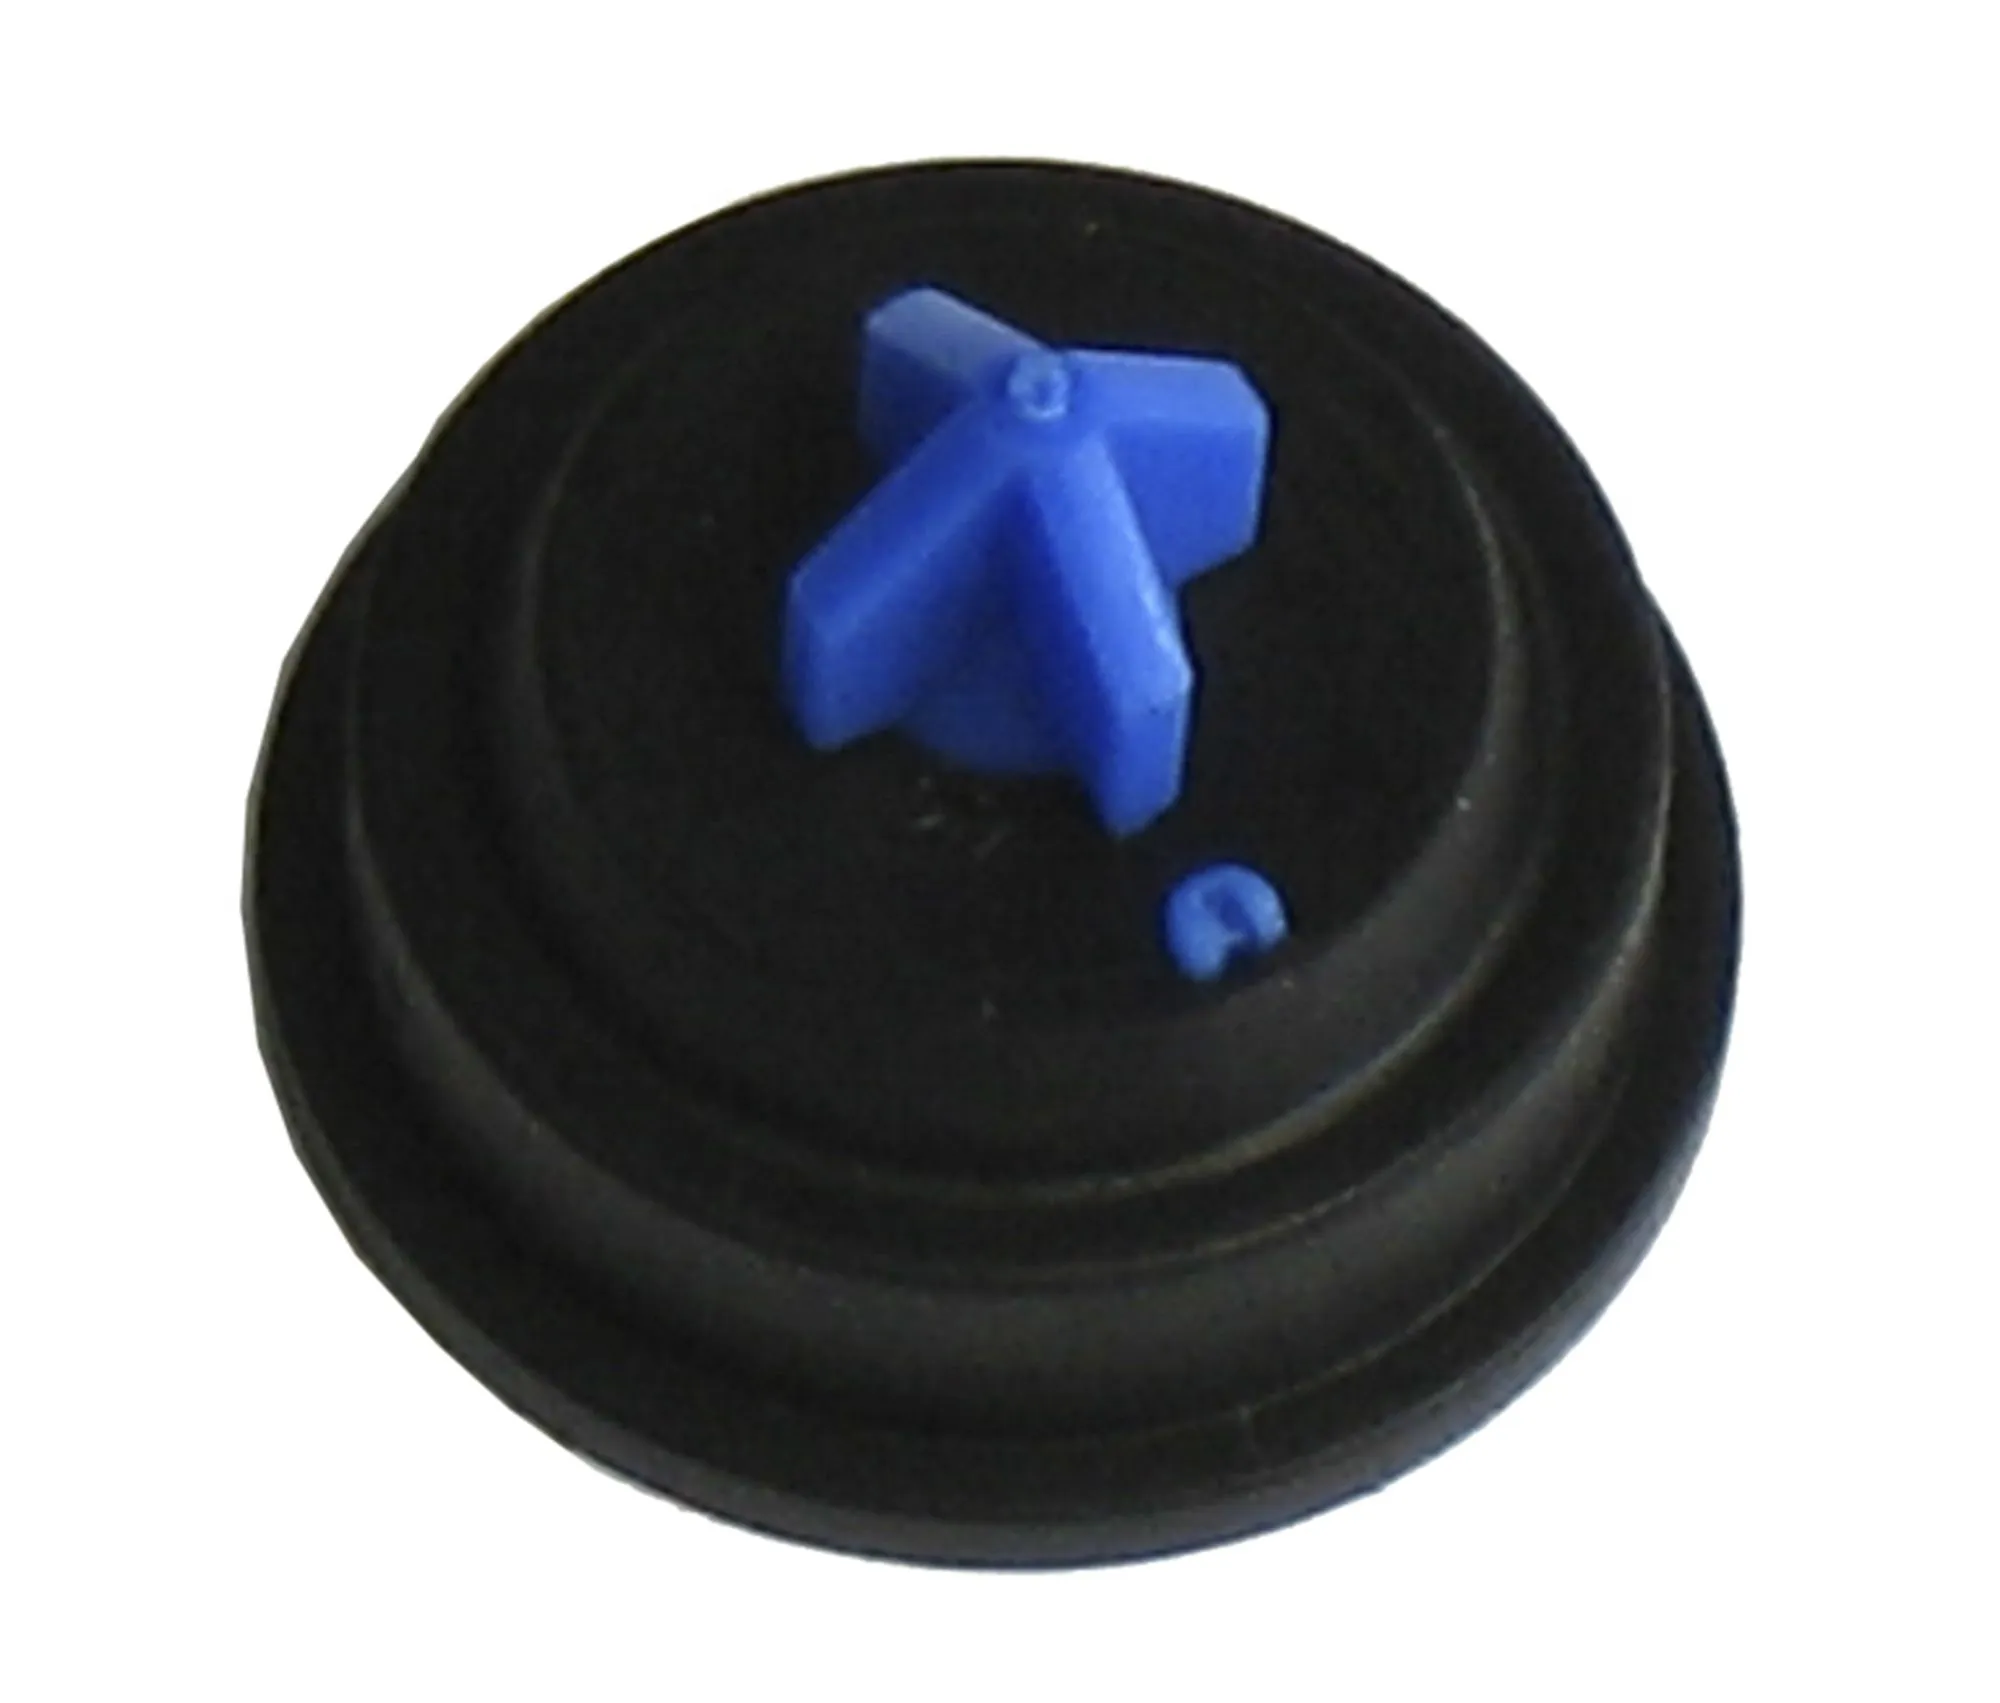
How do I replace the membrane in a WISA float valve (foam float)?
February 22, 2021
The WISA membrane (item no. 8050800311) is available from the recognized installer. Then follow the step-by-step plan for replacing a membrane in a WISA float valve with a foam float.
- Shut off the water supply.
- Open the reservoir.
- If necessary, remove the float valve from the reservoir.
- Remove the old membrane including the support plate.
- Turn the locking axle a quarter turn up and remove it.
- Remove the lever from the float valve.
- Loosen the valve nut. If necessary, use a pipe wrench.
- Remove the tap cover.
- Remove the membrane (black) including the support plate (red or blue). - Place the new membrane.
- Place the membrane with support plate on the valve cover. Note: The U-spout must point to the notch on the tap lid.
- Place the tap cover in the tap housing. Note: The lug on the lid must fit into the recess in the tap housing. The U-spout is now downstairs. - Refit the float valve.
- Screw the union nut onto the tap housing.
- Place the lever with the two legs in the designated recesses on the tap housing.
- Put the locking axle back through the lever and valve cover.
- Tighten the locking axle by turning it a quarter turn downwards. - If necessary, place the float valve back in the reservoir, close it and open the water supply tap.

